Science Club
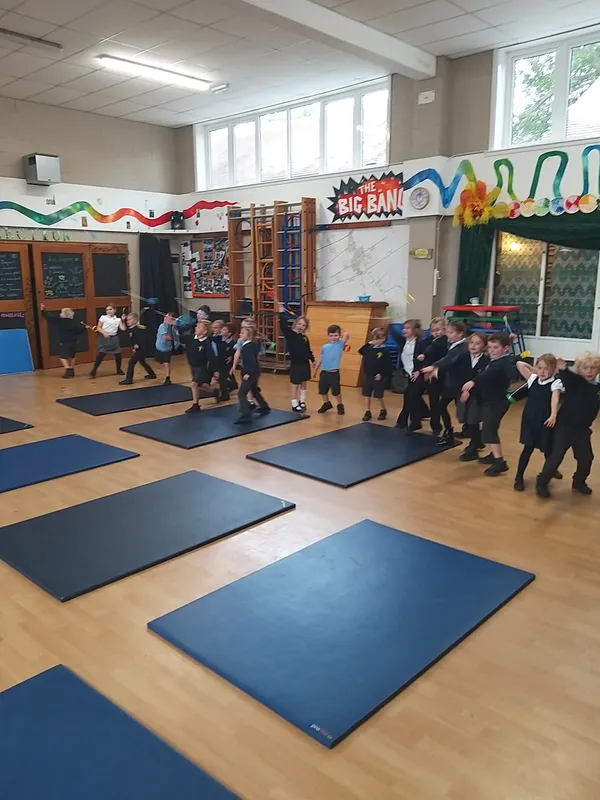
Science Club is held weekly for Years 1&2 on Thursdays 12.30pm-1pm. This is with Mrs Kernaghan and held in Goldcrests classroom. Take a look at the photos below to see what they get up to!


Parachute investigation - Humpty Dumpty
Humpty Dumpty has decided he wants to do a skydive – and he needs your help! You will need to design and make a parachute and an egg holder that will carry Humpty safely to the ground.
You will need:
- Bin bag/cloth/newspaper/tissue paper or other flat material.
- String/wool
- Sellotape or masking tape
- Eggs (You could boil yours first!)
- Scissors
- Egg boxes/plastic cups
- Bubble wrap
- Cardboard toilet roll
What to do:
1. Design and make your parachute and egg holder. Use your imagination! You can use whatever materials you want to design them so that Humpty Dumpty will stay safe.
2. Place your Humpty into the egg holder.
3. Time for testing! Hold your parachute as high above your head as possible, then let it drop.
4. Check Humpty! Did he survive? If not, continue redesigning until you have a parachute and egg holder that transports your egg safely to the ground.
How to make it into an investigation:
Create parachutes of different sizes (make sure to keep all other design aspects the same). Does the size affect how well the parachutes work?
Design other parachutes of the same size but with different materials. Which materials work best? Why do you think this is?

Bubble paint prints
You will need:
- Shallow container
- Paint brushes
- Paint pot
- Drinking straws
- White paper
- Washing up liquid
- Ready mix paint
- Water
- In a paint pot and mix together, â ready mix paint, â water and â washing up liquid.
- Then pour into a shallow tray.
- Take a straw, place into the liquid and begin to blow. Make sure not to suck otherwise you’ll end up with a mouth full of paint!
- Move the straw around creating bubbles.
- Once the tray is full of bubbles take a sheet of paper and lay it carefully on top of the tray pressing down gently.
- Lift it off and see the print you have created of the bubbles.

Straw Rockets
This activity makes a great science exploration and is perfect for the classroom. Kids can compare how different angles of the straw affect the distance the rocket travels or how adding fins or folding the rocket in different ways can affect its flight.
You will need:
- Straws
- Straws with a larger diameter than the other set of straws
- Sticky tape or glue dots
- Markers, crayons, or coloured pencils
- Scissors
- Rocket Template
- Colour a rocket and cut it out.
- Make sure this first straw you use is wider than the other straw you’ll be launching with later. Cut this wider straw to fit the length of the rocket and tape the top end shut so it’s completely sealed.
- Attach this wider straw to the back of the rocket using tape or glue dots.
- Slip a thinner straw into your wider straw, and you’re ready to launch!
-
Give your straw a big puff of air, and watch it take off!


